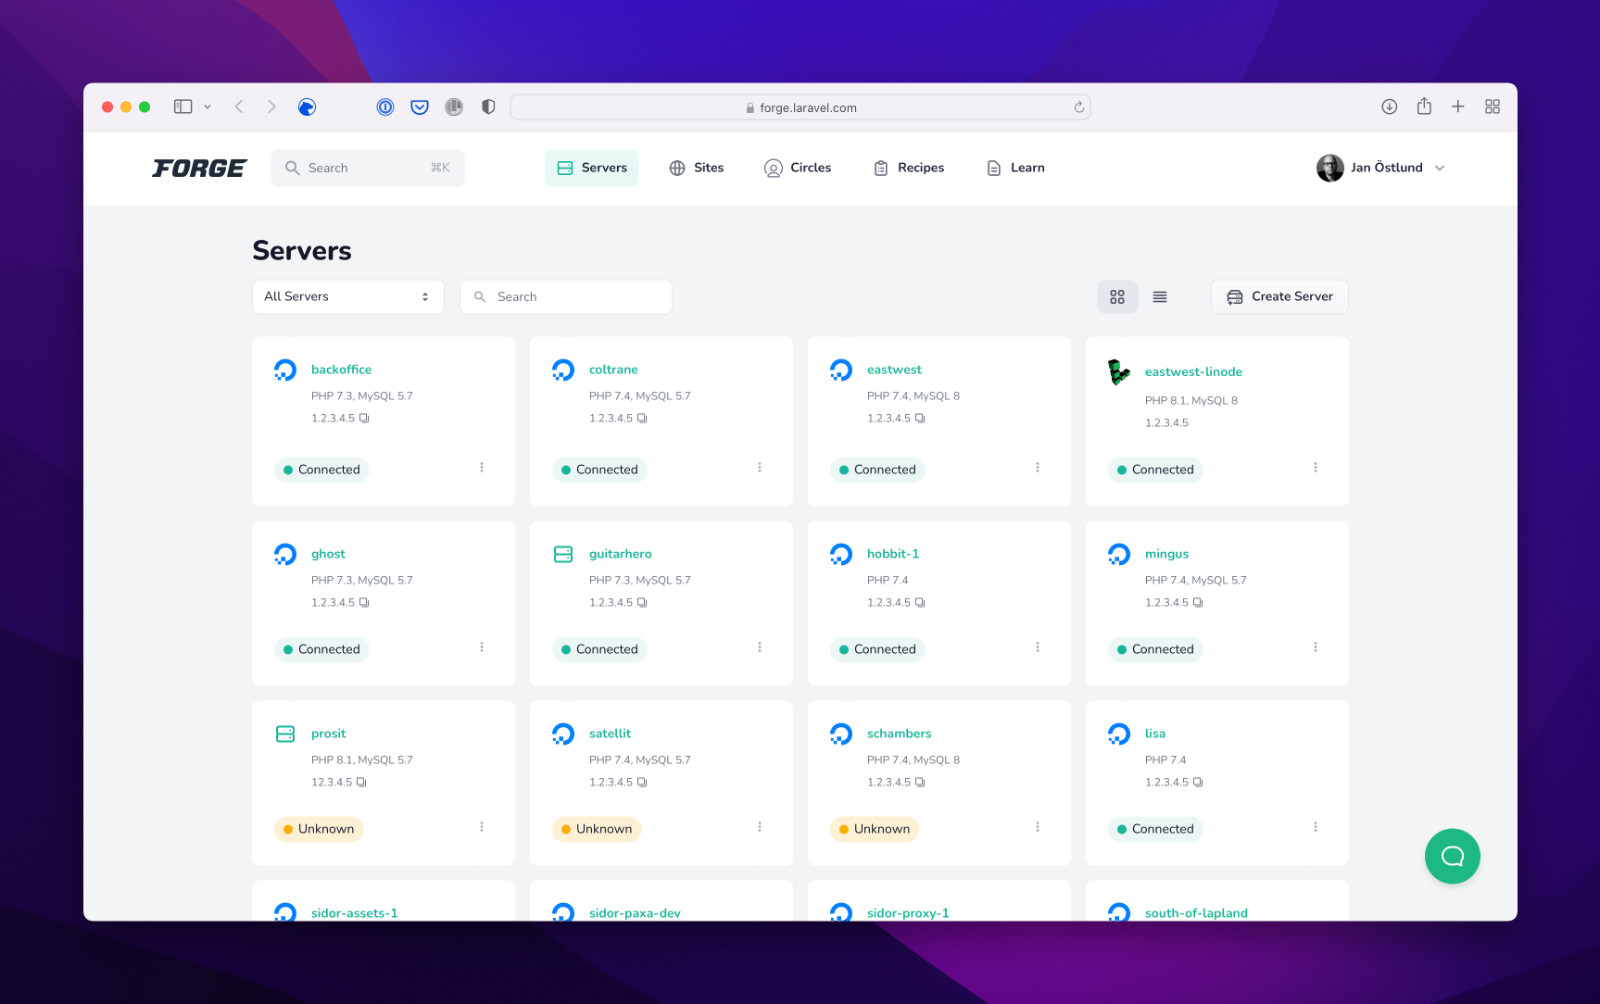
Laravel Forge lets you spin up cloud servers and handle deployment processes using Git and some of the popular server providers available. You can think of Forge as a GUI or interface for easily maintaining your servers.
Instead of hosting your PHP application directly, Laravel Forge logs into your server via SSH and installs all of the software required to run most modern PHP apps. One advantage of this approach is that it is portable; you can switch hosting providers at any time while maintaining consistent server configurations. Forge also reduces the likelihood of errors when installing packages and configuring your server’s security settings.
While Forge is excellent for the overwhelming bulk of Laravel PHP applications, you may discover that it installs more software than you require. However, you can choose to install a load balancer server that has no database nor Redis installed by default. Each server that is configured for web applications comes with:
- Ubuntu 20.04
- PHP 8.0
- Nginx
- MySQL 8
Nonetheless, Forge’s simplicity makes it worthwhile to use, particularly for side projects or small PHP applications that do not require specialized infrastructure. In this article, you’ll learn how to use Laravel Forge to deploy a Laravel application to your preferred hosting provider. I’ll use DigitalOcean, but the same steps apply to any major host that allows SSH access.
Pricing for Laravel Forge
Because Forge works differently than a PaaS (platform-as-a-service), the pricing model is also different. You will pay Forge for your web host as well as Forge’s provisioning software. While Forge plans start at just $12 per month, your web hosting costs may be much higher depending on your requirements.
DigitalOcean is one of the most affordable solutions to spin up a small virtual server. While the $5 droplet is insufficient for most production applications, small projects may be able, to begin with, the $10 or $20 per month droplet.
You can also deploy sites from any GitHub repo. This makes life much easier as a developer. By default, sites are manually deployed, so you will have to click deploy to get the latest code on your server; however, you can optionally set any repo to auto-deploy. Setting up auto-deploy will deploy the latest code to your server whenever you push code to a specific branch in your repository.
Using Forge to Deploy a Laravel App
Here’s a step-by-step guide to using Forge to deploy your next Laravel project:
Create a User Account
To get started with Forge, you’ll need three things:
- Forge user account
- DigitalOcean account
- A domain name
Forge will connect to your DigitalOcean account and provision a droplet for you, so you won’t even need to set up your server on DigitalOcean.
First, create an API key to setup F-Bar and connect it to Laravel Forge. You can find it under your profile > API. A more detailed step by step instruction is available here.
Setup a New Server
Forge can do all of the heavy liftings in creating your server once you’ve logged in and linked your DigitalOcean account.
Enter a name for your server, then choose the droplet size, region, and other options listed in Forge. For serving Europe, my favorite location is Amsterdam 3. With Forge, you can manage multiple PHP versions per site, but you should always use the most recent version of PHP that your application can support.
If you’re using DigitalOcean to host Laravel projects, you don’t even need to log in to Digital Ocean once everything is set up. When you click the “Create Server” button, Forge will begin creating your droplet in DigitalOcean, installing PHP, Nginx MySQL, and configuring settings that you would generally have to do yourself or copy from another droplet.
In Laravel Forge, create a new domain.
After the server has been provisioned, you must add the domain name you intend to use to your site. Forge creates a default site, but I wouldn’t recommend using it because it will require additional work to get up and running with your domain.
In Laravel Forge, you can create a domain.
After you’ve added your domain, click the pencil (“Edit”) icon in the “Manage” column to get your site up and to run.
Download and install a Github project.
The quickest way to get your project up and running is to connect Forge to your Github repository. This will make it simple to automatically deploy updates and allow others to contribute to your code.
After you’ve linked your repository, Forge will add a deploy script to your project, and you can click “Deploy Now” to get it running on the server.
If you do not want migrations to run automatically or if you want to add your steps to the deployment process, this is the place to do so. For example, to ensure that we know when a deployment fails, we always include a dateline at the beginning of the shell script.
Setting up
To connect to your database, your Laravel project will require a .env file with environmental variables. Forge makes this simple by including a .env file editor in the “Environment” tab for each of your sites.
More granular control over your Nginx configuration is also available by clicking “Files” -> “Edit Nginx Configuration” in the bottom right-hand corner of the “Meta” page.
Once you are done you can hook up F-Bar notifications to get a notice when the deployment is done.
Alternatives for interacting with Laravel Forge
Laravel Forge has released their first official command-line tool, which provides a useful collection of functions for managing your Forge servers, sites, and more.
The Forge CLI’s first version (v1.0) offers about thirty functions, including those for starting deployments, examining application logs, establishing SSH key authentication, and more.