With Laravel Forge’s support for multiple PHP versions, upgrading to a newer version is straightforward. Here’s a step-by-step guide based on recommendations from Laravel Forge’s support team.
First, install the new PHP version. Go to your server and click PHP from the menu on the left. Scroll down on the page and click “Install” on the desired version.
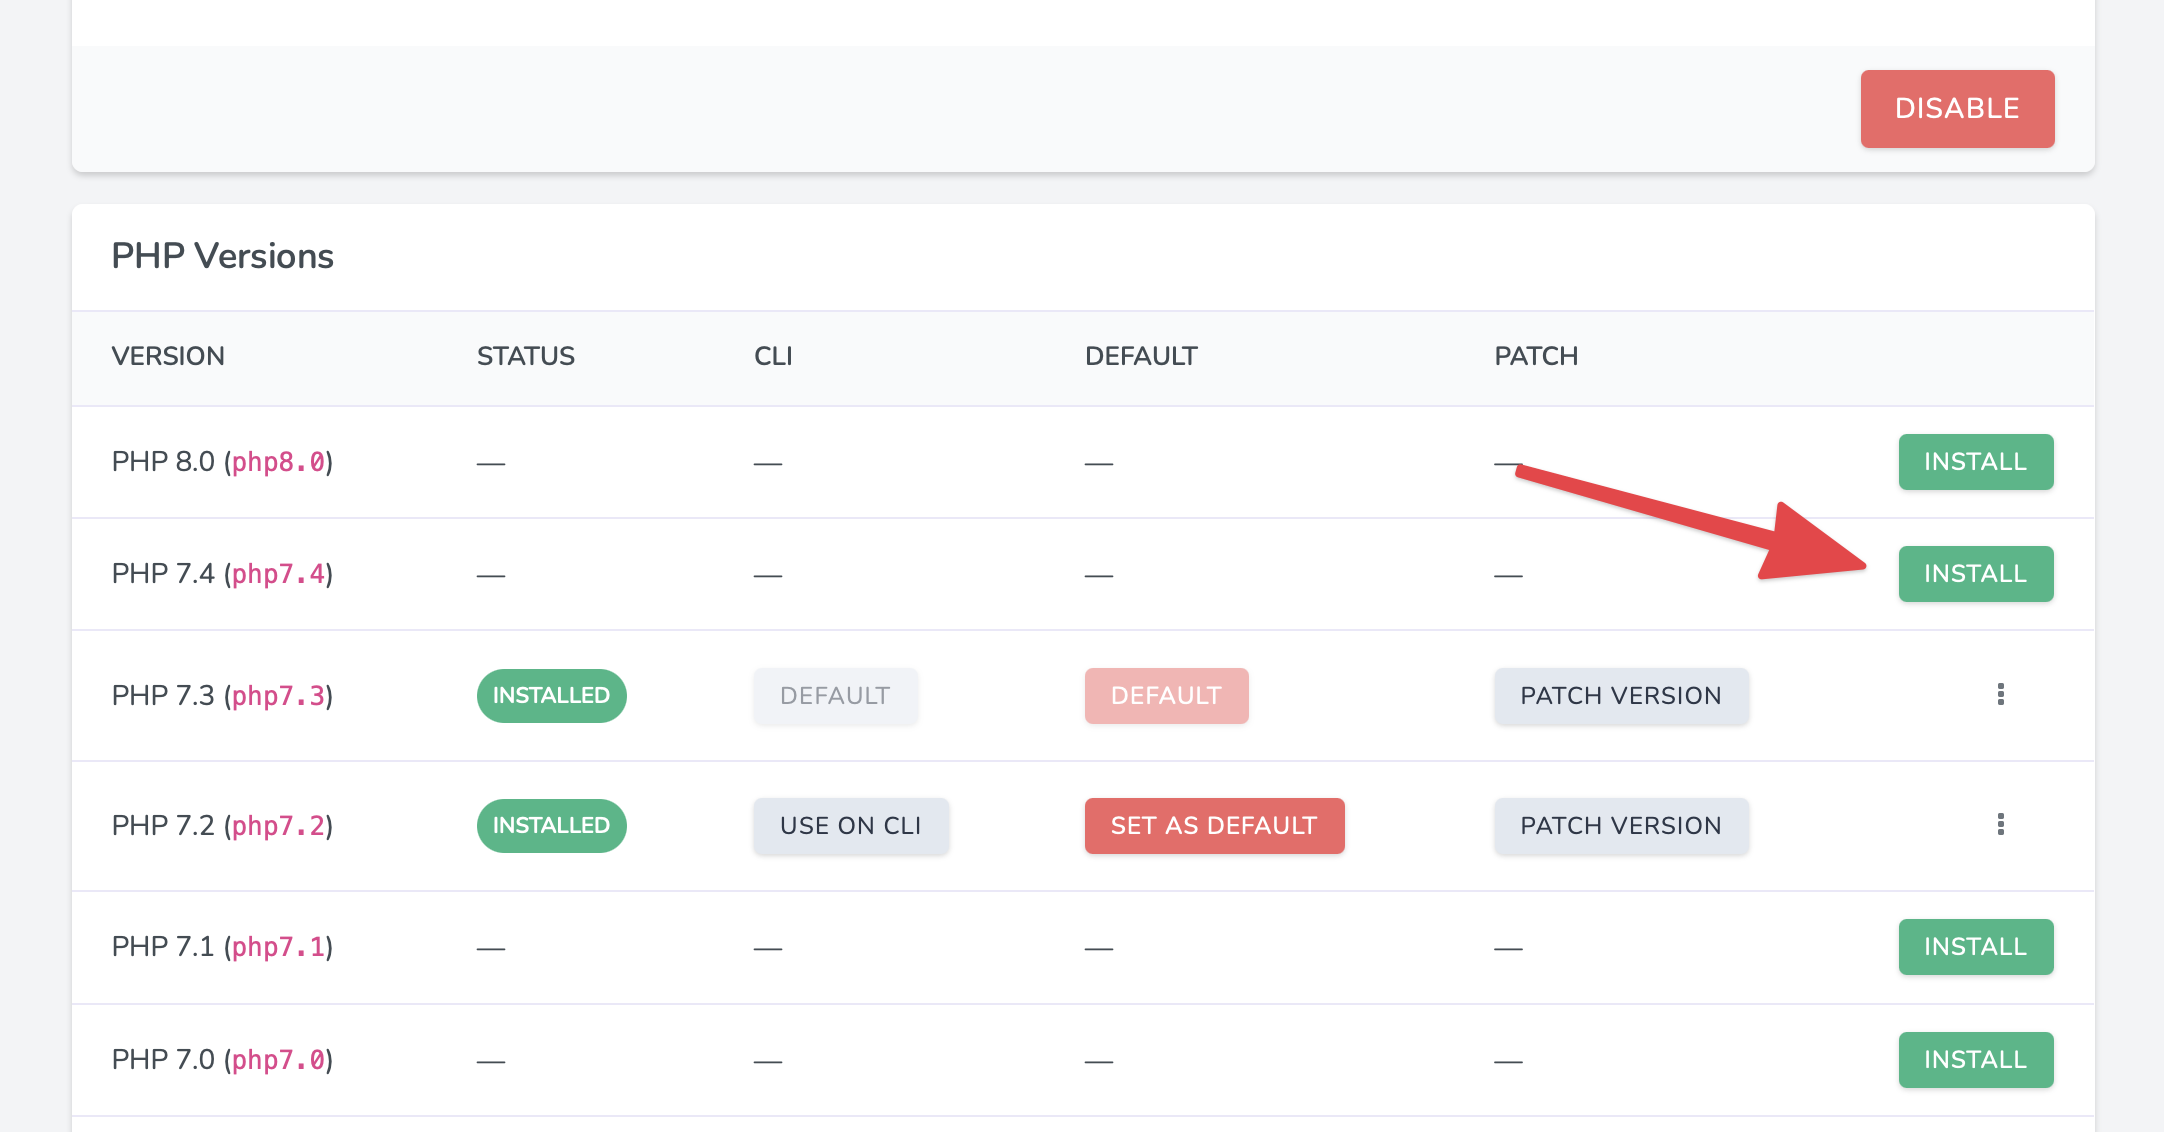
The installation can take quite a while, so be patient.
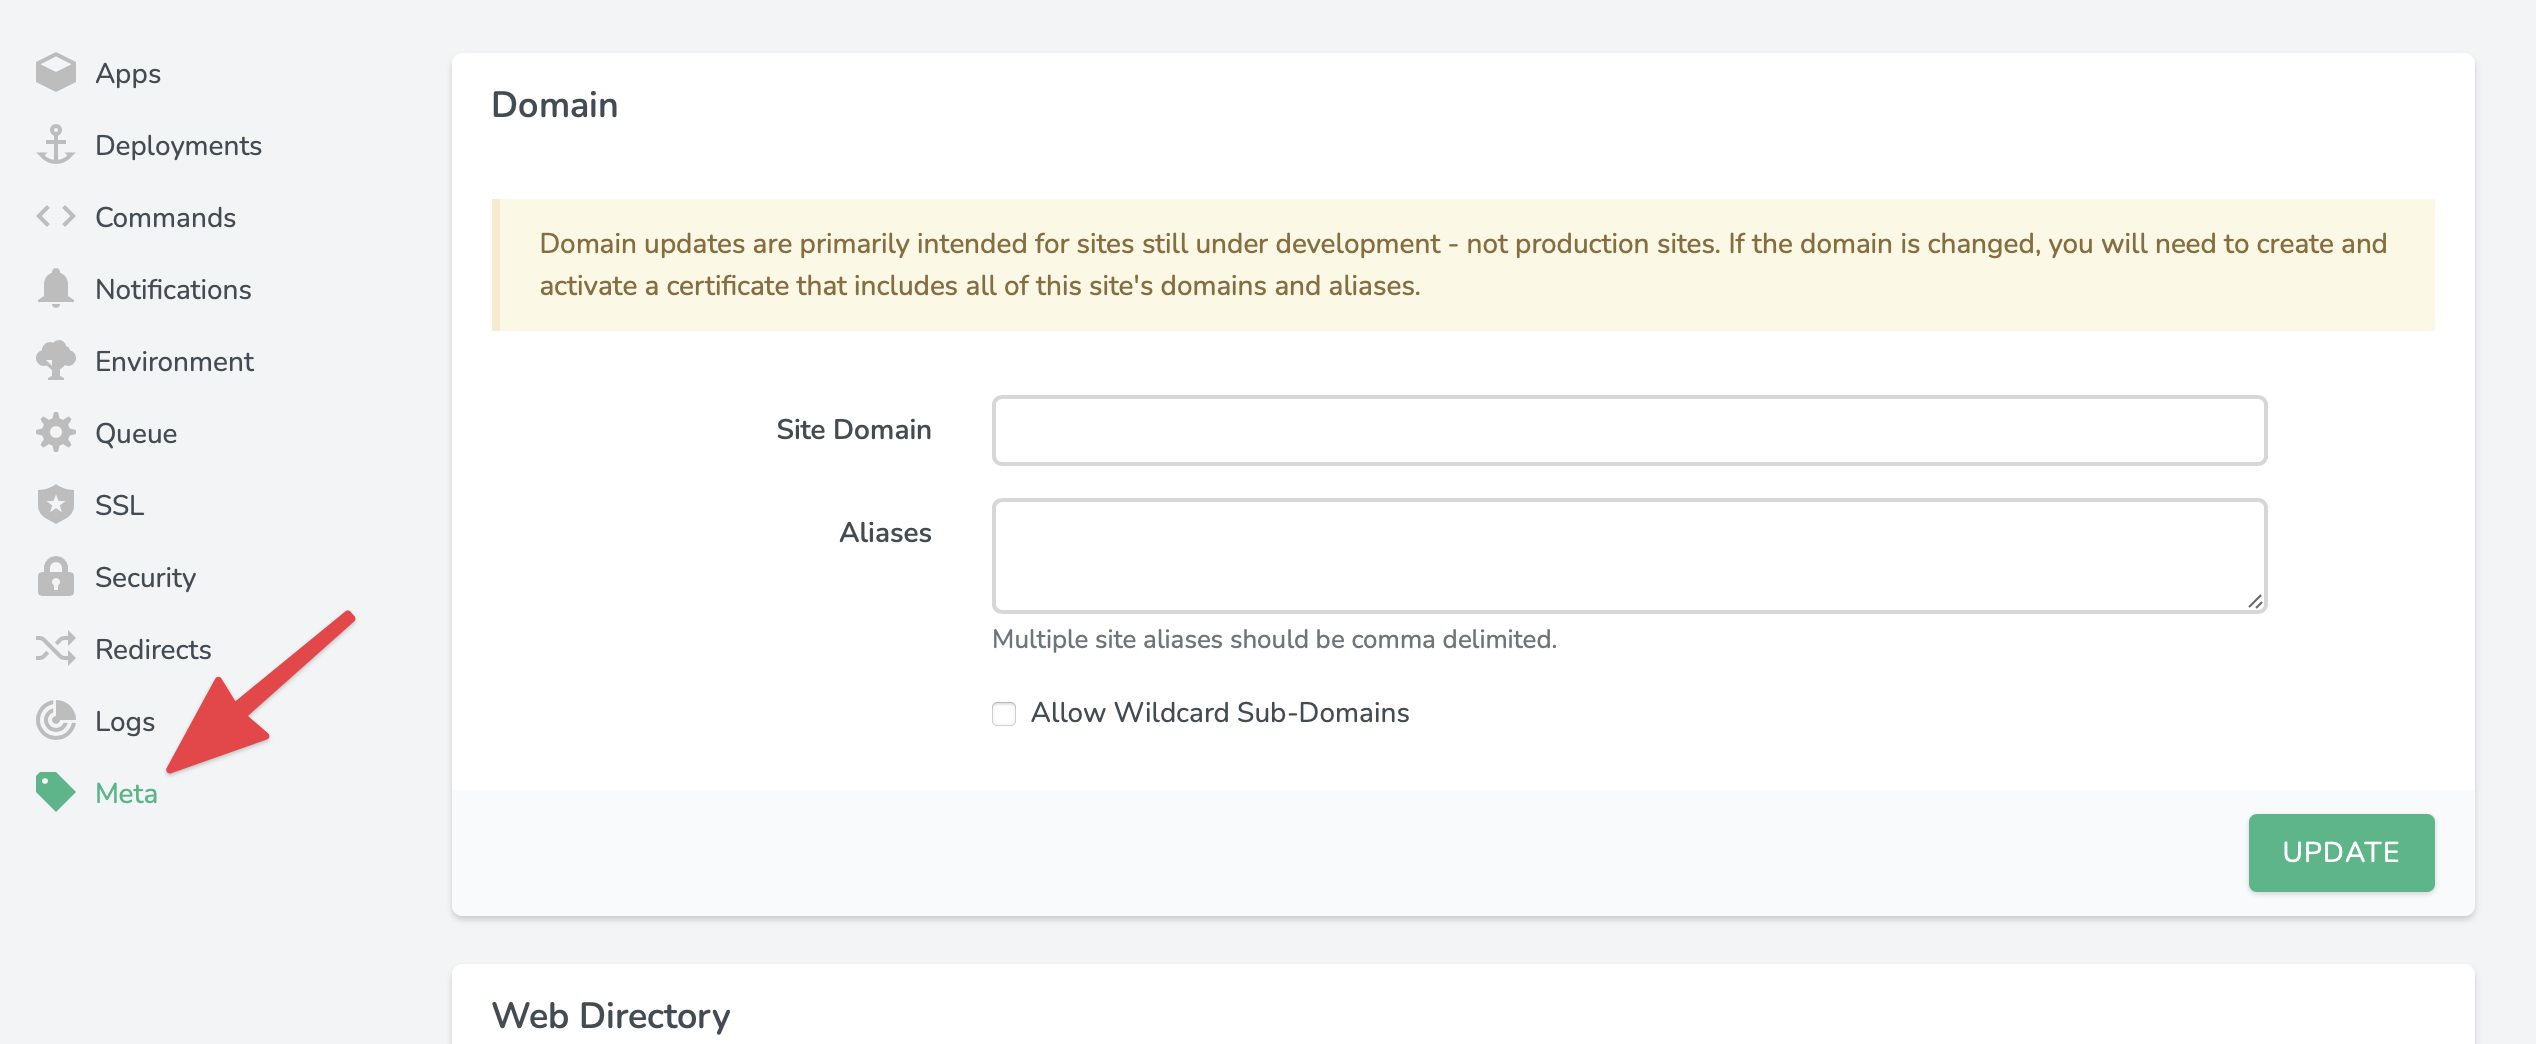
When the new version is installed, as a best practice, start with a non-critical or test site on your server. Visit the site and click “Meta” in the menu on the left. Change the PHP version to the newly installed one. This precaution ensures that in case of incompatibilities, only one site is affected initially.
After switching the PHP version, it’s crucial to thoroughly test your site. Ensure all functionalities are intact, and use tools like phpinfo() to confirm that the correct PHP version is loaded.
Rinse and repeat this for each site.
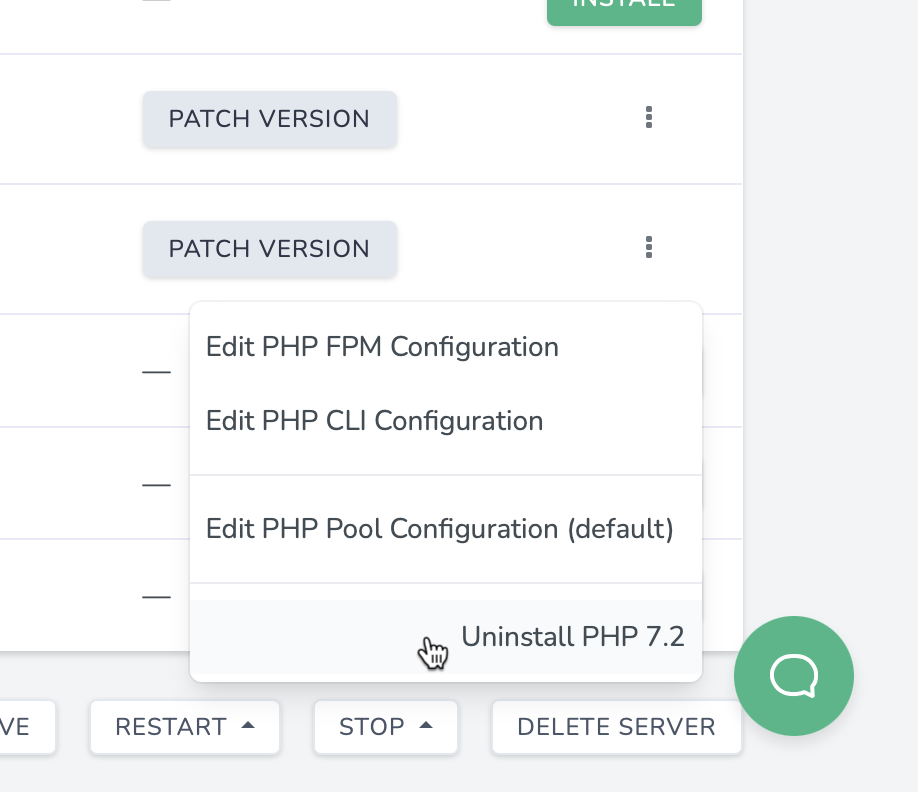
Before uninstalling the old PHP version, double-check that all sites on your server have been successfully upgraded to the new version. Once confirmed, you can safely uninstall the old version.
“Upgrading the PHP version on Laravel Forge is a smooth process when followed methodically. Always remember to test each site after the upgrade to ensure seamless operation.